
Tip 1: Runners Always Come First
The most common beginner mistake in Dwarf Eats Mountain is stacking mining damage while ignoring the transport bottleneck.
You can build the best Miners in the world and leave piles of resources on the ground, but none of that production matters without enough Runners to carry it to the Great Maw. Your economy runs on resources actually delivered, not theoretical output.
What to do:
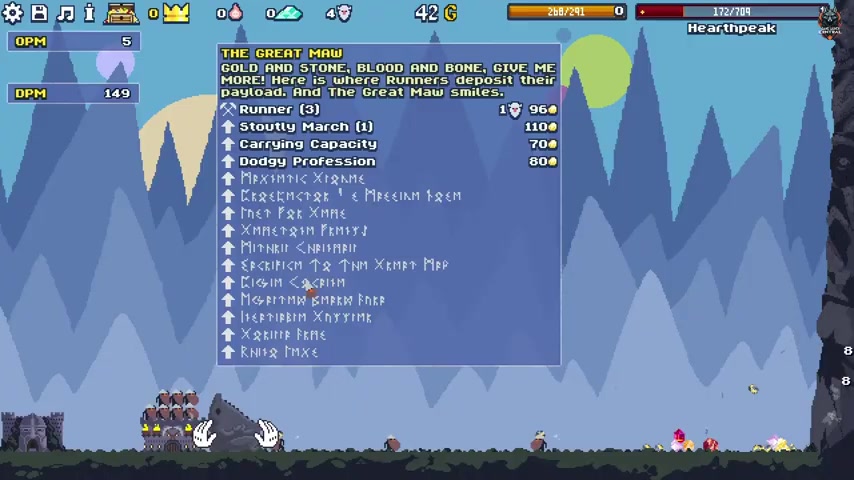
- Prioritize Runner count at the start of a run so transport capacity keeps pace with mining
- Keep upgrading Runner carry capacity and movement speed
- Fix the transport chain before buying damage or new units, even if that delays other upgrades
This small change can transform the speed of an entire run.
Tip 2: Click to Push Gold and Heavy Items
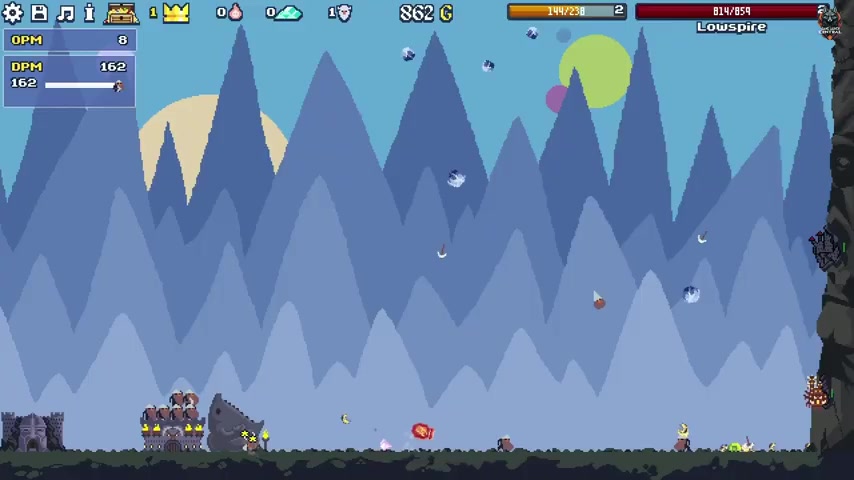
Hold the left mouse button over gold on the ground to push heavy ores and artifacts toward the Great Maw. This is a genuine speed-up mechanic, not just visual feedback.
It is especially useful in the early and mid game. Unlike many incremental games where you only watch numbers rise, this gives you direct control over the flow of your economy.
When to use it:
- Push constantly during the first few minutes of a run
- Help artifacts and heavy ores reach the collection point
- Use it whenever the pace starts to slow down
It is one of the most efficient active techniques in the game.
Tip 3: Slap Stunned Runners Awake
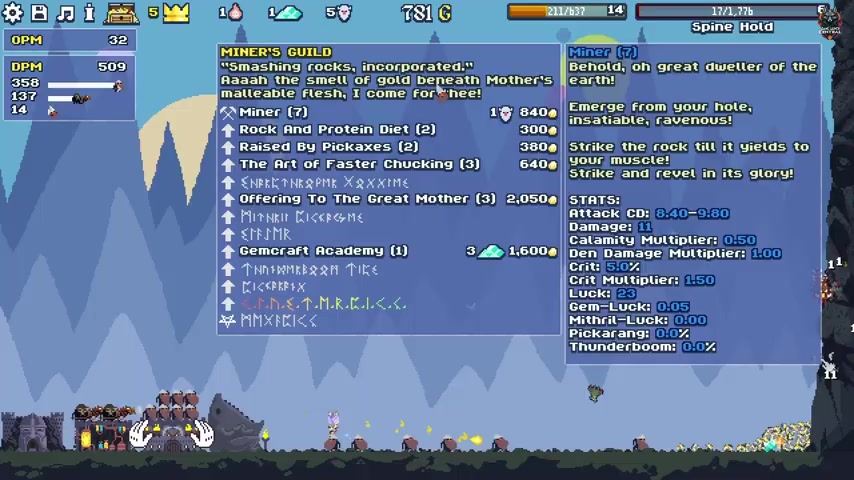
Falling rocks can stun Runners. A stunned Runner carries nothing, so several knocked-out workers can bring your economy to a halt.
A Slap wakes them immediately and costs no resources. In practice, it can be as valuable as having several extra Runners.
Upgrading Slap Strength is one of the best early investments. Protective Runner upgrades such as evasion and armor arrive later, so manual rescue is essential through the early and mid game.
Build the habit: see a Runner fall, slap them awake immediately.
Tip 4: Point Ballistas at Dens
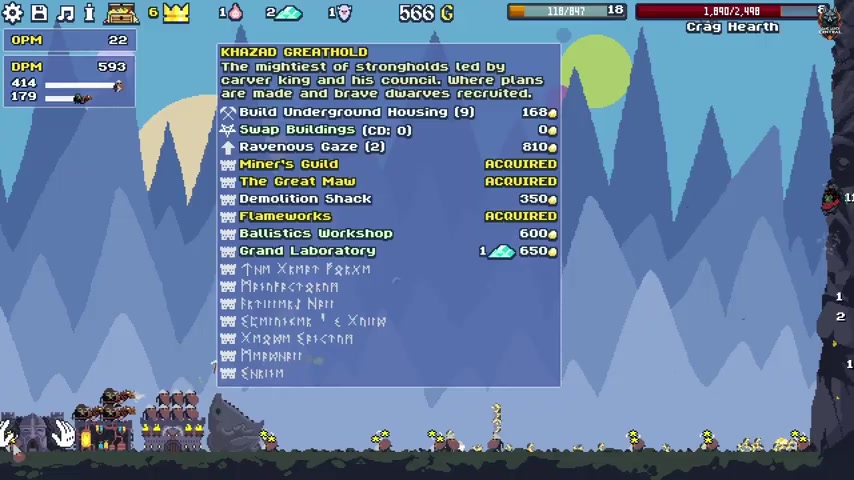
The hidden strength of Ballistas is their effectiveness against Dens. Goblin Dens, Troll Caves, and other structures that take ordinary units a long time to destroy can be demolished quickly by focused Ballista fire.
Dens drop Mithril and Mountain Souls, the resources required for crucial unlocks and upgrades.
How to use them:
- Clear ordinary enemies with your available units before Ballistas are unlocked
- Once Ballistas are available, focus their fire on Dens across the map
- Avoid firing indiscriminately; targeted demolition produces resources much faster
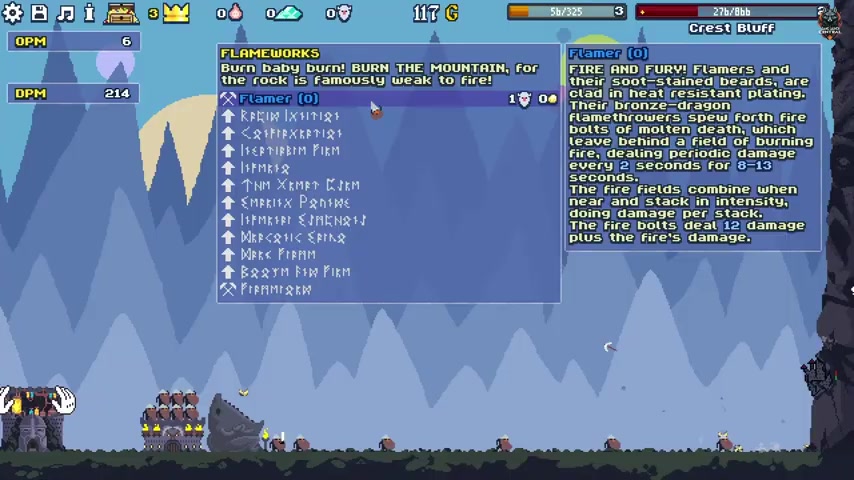
Tip 5: Do Not Underestimate Flamers
Flamers are classic slow starters: their initial damage looks weak, but serious investment makes their output scale dramatically.
Their role:
- They deal sustained damage rather than short bursts
- They excel in long waves and Den fights without constant micromanagement
- They become stronger when paired with slows and control effects
If you have never committed to the Flamer upgrade line, give it a real chance. Flamers are a core unit in sustained-damage builds.
Tip 6: Control the Calamity Bar
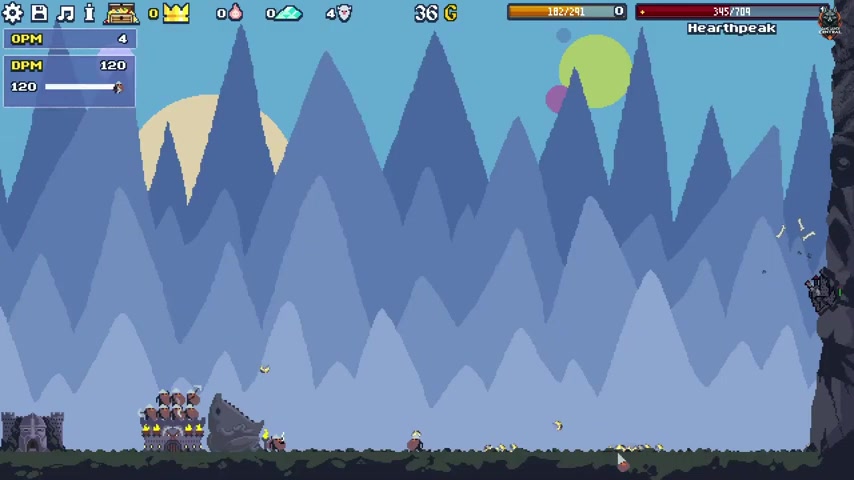
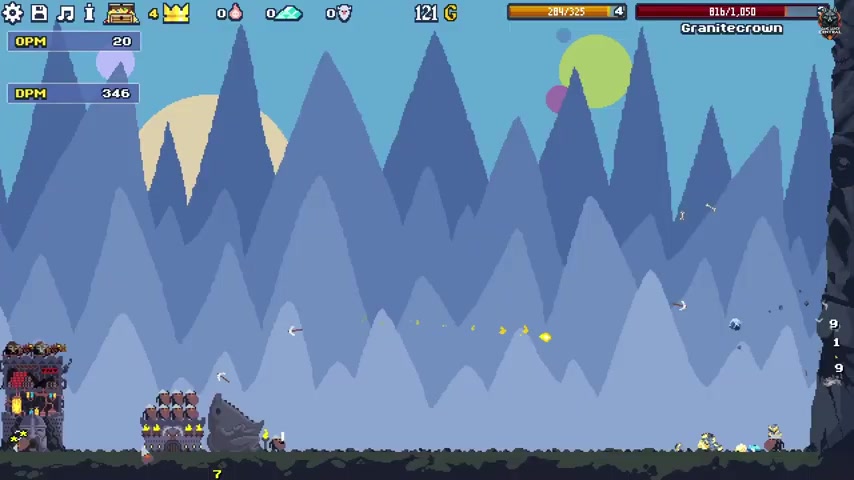
Dealing damage to the mountain as fast as possible feels good, but it also fills the Calamity Bar. Trigger a landslide before you are ready and your transport line can be destroyed.
The key rule: do not use maximum damage until your defenses are ready.
Practical steps:
- Watch how quickly the Calamity Bar is filling
- Place defensive structures around your Runners and transport routes
- Secure the line before investing heavily in DPS
- Sometimes clicking less is the fastest way to progress
It sounds counterintuitive in an incremental game, but controlled damage often leads to a faster run.
Tip 7: Prestige When Progress Slows
Prestige is not giving up your progress. It is a strategic step backward that lets the next run leap much farther ahead.
When progress becomes noticeably slower and your gains flatten out, it is usually time to Prestige. Grinding the same mountain for hours is often worse than resetting, because permanent Prestige Point bonuses make every following run faster.
After your first serious Prestige, the speed of the next run can be surprising. Compounding permanent upgrades are the real engine of the game.
Tip 8: Rebuild Around High-Tier Artifacts
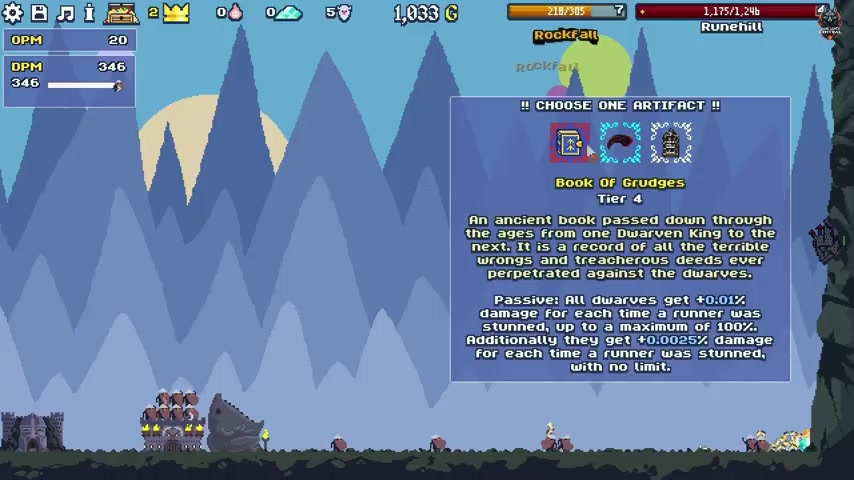
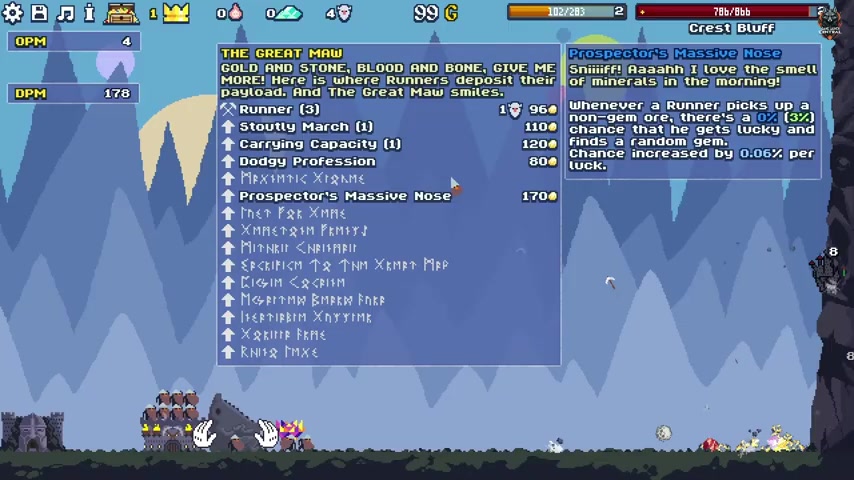
When you find a Tier 5 artifact, do not force it into your existing build. Rebuild the strategy around the artifact.
High-tier artifact effects are powerful enough to define an entire run. If you were pursuing a mining build and find a combat artifact, reconsider where your resources should go.
A practical approach:
- Find a T5 artifact, pause, and evaluate its full effect
- Reconsider your upgrades, map priorities, and unit mix
- An artifact that does not support the build is wasted potential
Tip 9: Keep Some Dwarves Unemployed as Worshippers
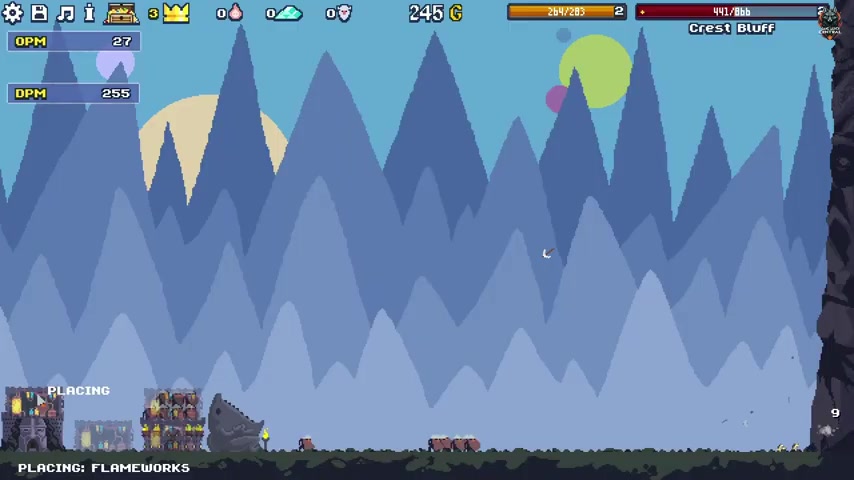
Giving every Dwarf a job looks efficient, but unemployed Dwarves can serve as worshippers in the Sanctuary and provide passive bonuses.
Strategy:
- After unlocking the Sanctuary, do not immediately assign every unemployed Dwarf
- Keep a portion available as worshippers for steady passive benefits
- Balance Runners for transport, combat units for defense, and worshippers for bonuses
Zero unemployment does not always mean maximum efficiency. Workforce allocation is another important layer of the game.
Tip 10: Buy Prestige Upgrades in the Right Order
When faced with many Prestige options, prioritize faster starts over late-game bonuses.
- First: starting gold multipliers and Runner speed, because the first five minutes shape the entire run
- Next: collection efficiency and damage bonuses
- Later: upgrades that only become useful in the late game
Incremental games are driven by compounding gains. Being twice as fast in the first fifteen minutes can produce ten times the value later. Spend points on upgrades that make the next run sprint from the beginning.
技巧一:搬運工永遠是第一優先級
Dwarf Eats Mountain 最大的新手陷阱:拼命堆挖礦傷害,忽略了運輸瓶頸。
造了最好的礦工,產出堆積如山——但沒有足夠的搬運工把礦石送到巨口,一切都是白費。遊戲經濟的核心是實際送達量,不是理論產能。
正確做法:
- 開局優先保證搬運工數量,至少讓運輸能力匹配挖礦速度
- 持續升級搬運工的負重和移速
- 哪怕因此延遲其他升級(傷害、新單位),也要先把運輸鏈拉起來
這個調整看似微小,但推進速度會產生質變。
技巧二:手動點擊推金礦
按住鼠標左鍵點地上的金幣,可以把重礦石和神器推向巨口——這是實實在在的加速機制。
早期和中期的收益尤其明顯。很多增量遊戲的問題是「幹看著數字跳」,而這個主動操作讓你對經濟流速有真實控制力。
何時用:
- 開局前幾分鐘全力點擊推進
- 掉落神器/重礦石時手動推到收集點
- 感覺節奏變慢就點幾下
投入產出比最高的操作技巧之一。
技巧三:拍醒被砸暈的搬運工
石頭砸下來搬運工會暈——暈了的搬運工不運貨,經濟直接停擺。
拍打可以立刻喚醒暈倒的搬運工,不消耗任何資源。效果等於憑空多了幾個搬運工。
升級拍打力度是早期性價比最高的投入之一。搬運工的保護裝備(閃避、護甲)要後期才有,前中期就靠手動搶救。
養成條件反射:看到搬運工倒下→立刻拍醒。
技巧四:魚叉弩炮鎖定巢穴
魚叉弩炮的隱藏價值在於對巢穴的特攻。哥布林巢穴、巨魔洞穴這些普通單位打起來費勁的目標,魚叉弩炮能快速拆除。
巢穴掉落的正是秘銀和山魂——解鎖關鍵升級的核心資源。
操作方式:
- 解鎖弩炮前用普通單位清雜兵
- 解鎖弩炮後,立刻把火力焦點切換到地圖上的巢穴
- 不要無差別攻擊——有針對性地拆巢穴,資源獲取效率翻倍
技巧五:不要低估烈焰使者
烈焰使者是典型的「前期弱、後期強」型單位。初始傷害看著可憐——但一旦認真投入資源升級,傷害指數級增長。
烈焰使者的定位:
- 不是爆發型,是持續傷害型
- 適合長時間波次和巢穴戰,不需要頻繁微操
- 與減速、控制效果搭配更強
如果你還沒有投資過烈焰使者路線,給它們一次真正的機會。持續傷害構築裡,它們是不可或缺的核心。
技巧六:控制災厄條
對山體輸出太快看著爽——但你在填滿災厄條,觸發山體滑坡,摧毀運輸線。
核心原則:在防禦到位前,不要火力全開。
做法:
- 觀察災厄條的填充速度
- 在運輸線和矮人周圍佈置防禦建築
- 先鞏固防線,再點傷害升級
- 有時減點速反而是最快的推進方式
在增量遊戲裡有點反直覺——但「慢就是快」在這裡是真理。
技巧七:該轉生就別猶豫
轉生不是「放棄進度」,是戰略性後退以便跳得更高。
判斷標準:當推進明顯變慢、收益曲線趨平時,就是轉生的時機。死磕同一座山耗幾個小時不如重置——聲望點帶來的永久加成會讓下一輪速度飛昇。
第一次認真轉生後,第二輪的速度會令你震驚。永久加成產生的複利效應是遊戲的真正核心。
技巧八:圍繞高階神器重構構築
拿到 5 級神器後,不要把神器硬塞進現有構築——圍繞神器重構整套構築。
高階神器的效果強到可以定義一局的打法方向。原本走挖礦流,拿到戰鬥向神器?那就換思路,把資源投入方向調過來。
實踐方法:
- 拿到 5 級神器 → 暫停 → 全面評估
- 重新規劃:升級路線、地圖優先級、單位配比
- 不匹配的神器效果 = 浪費的潛力
技巧九:留一些失業矮人當祭司
全部矮人都安排工作看起來很高效——但失業矮人可以在聖壇裡當牧師,提供被動加成。
策略:
- 解鎖聖所後,不要急著把失業矮人全部分配出去
- 保留一定比例的「祭司」提供持續性被動收益
- 平衡:搬運工(運輸)+ 戰鬥單位(防禦)+ 牧師(被動加成)
零失業不等於最優解。這層勞動力管理是遊戲深度的體現。
技巧十:轉生加點有先後
面對一堆選項,優先級應該是:開局加速 > 後期加成。
- 首選:初始金幣倍數、搬運工速度——前 5 分鐘的速度決定整局節奏
- 次選:採集效率、傷害加成
- 後期再考慮:只在後期生效的加成
增量遊戲的本質是複利——前 15 分鐘快 1 倍,最終收益可能是 10 倍以上。把點數花在「讓下一輪開局狂奔」上,遠比花在「後期多一點傷害」上划算。
相關頁面
- dwarf eats mountain artifacts — 全神器圖鑑
- dwarf eats mountain prestige — 轉生加點指南
- dwarf eats mountain buildings — 全建築一覽