
This guide combines the useful lessons from several first-playthroughs into one route. It is not a fixed shopping list: at each step, look at what is slowing the run and buy the upgrade that removes that bottleneck.
1. Learn the real economy loop
Your Miners do not create spendable gold by themselves. The full loop is:
- damage the mountain and release ore;
- let Runners pick it up;
- deliver it to the Great Maw;
- spend the credited gold on housing, dwarves, buildings, and upgrades.
Ore on the floor is unfinished work. If piles keep growing, more mining damage will make the problem worse. Add transport capacity first.
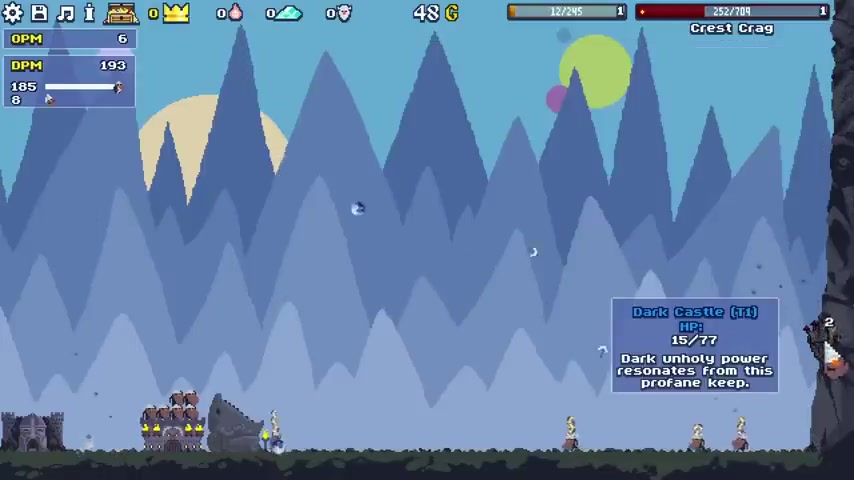
The first diagnostic
- Little ore on the ground, slow mountain damage: add damage or improve your chosen combat unit.
- Large ore piles, empty treasury: add Runner capacity, speed, or another Runner.
- Runners repeatedly stunned: wake them manually, then invest in dodge and protection.
- Enough gold but no room for a useful dwarf: housing is the bottleneck.
This four-question check remains useful throughout the game.
2. Build the housing–Runner–damage triangle
Housing is both a cost and a capacity limit. Buying it without a plan wastes gold; refusing to buy it blocks every useful unit. Before each housing purchase, decide which role the new slot will fill.
For the opening, keep only enough Miners to maintain steady ore production, then favor Runners until the ground is under control. Runner carrying capacity usually improves throughput more than a small speed increase because each trip completes more deliveries.
Do not copy an exact unit count from a video. Distance, artifacts, calamities, and upgrades change how many Runners you need. Read the floor instead.
3. Use active actions where they save a cycle
Active play matters most when the economy is small:
- push heavy ore and artifacts toward the Great Maw;
- slap stunned Runners awake instead of waiting for recovery;
- aim burst abilities at a Den, Mithril target, or boss rather than firing on cooldown;
- pause damage briefly if calamities are disabling the entire transport line.
These actions are not a replacement for automation. Their job is to prevent one bad event from costing several collection cycles.
4. Unlock roles, not buildings for their own sake
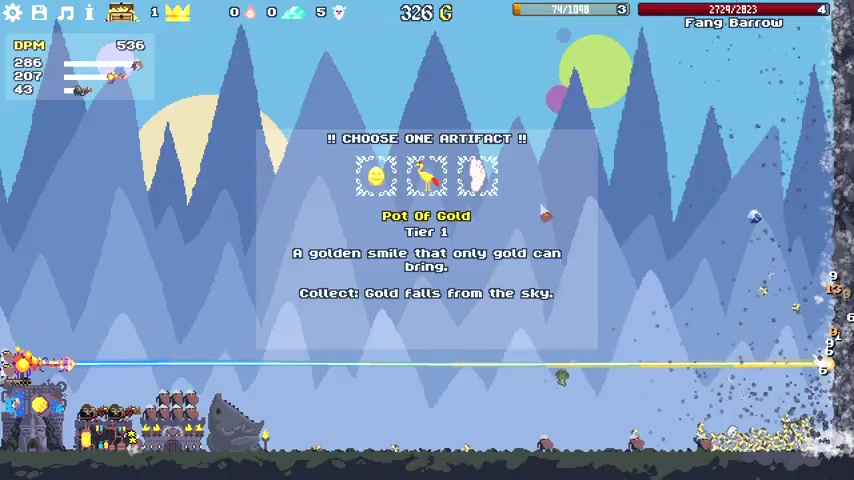
Early buildings are valuable because of the role they add:
| Need | Add | Why |
|---|---|---|
| Reliable early area damage | Flameworks / Flamers | Clears scattered threats and supports Den fights |
| Research and scaling | Grand Laboratory / Scientists | Opens deeper upgrades and supports Lasers |
| Focused Den damage | Ballista access | Helps secure rewards before the mountain falls |
| Runes and Mithril upgrades | Great Forge / Runesmiths | Converts scarce resources into long-run multipliers |
Unlocking everything at once spreads housing, gold, and Mithril too thin. Add the next role only when the current run can fund it.
5. Treat Dens and Mithril as deadlines
A mountain ending is not automatically a clean win. Before finishing it, check for Dens, veins, and other high-value wall targets. If the mountain disappears first, their rewards are lost.
Ballistas are useful here because they can cover targets that ordinary damage may ignore. Repositioning and focused fire are often worth more than another generic damage purchase.
6. Survive calamities without overreacting
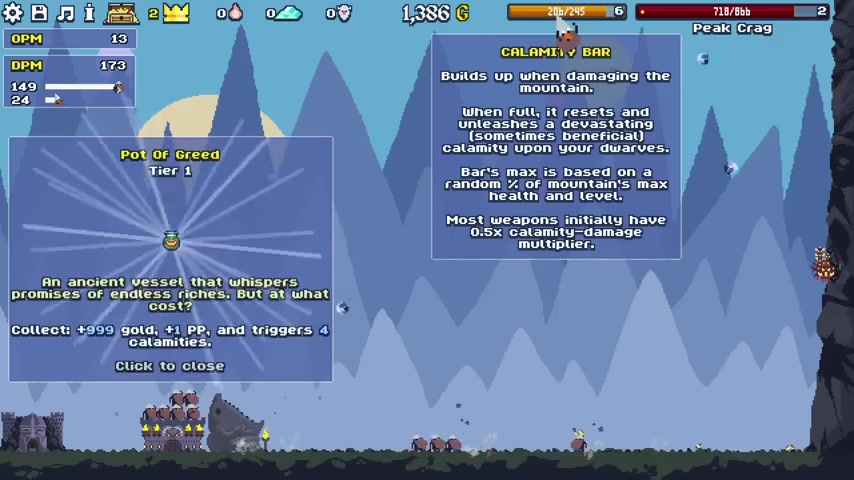
The Calamity Bar turns damage into risk. Early events are usually recoverable, but repeated Runner stuns can silently shut down income.
Use a layered response:
- manually wake important Runners;
- buy capacity so fewer trips are required;
- add dodge or protective upgrades;
- invest in dedicated defenses only when disruption remains frequent.
Some later builds profit from calamities, but a first run should prioritize a stable delivery line before trying to exploit them.
7. Let one artifact define the build
An artifact that strongly improves fire, Lasers, Ballistas, or another unit is a direction, not a small bonus. Choose one main damage plan and deepen its upgrade tree. A little investment in every unit often delays all of their important breakpoints.
Support units still matter: Runners fund the build, Scientists unlock it, and defensive tools keep it operating. “Focused build” means one primary damage engine, not one unit type on the entire map.
8. Prestige when the next run is clearly better
Do not reset only because the button appeared. Prestige when progress has flattened and the permanent upgrades you can buy will remove a real opening bottleneck.
Useful signals include:
- the next meaningful upgrade takes much longer than the previous one;
- a boss or mountain remains out of reach after sensible reallocation;
- you have enough Prestige Points for several opening improvements, not one marginal bonus;
- replaying the opening with starting resources or stronger logistics will be materially faster.
The exact point varies by build and version. The decision is economic: compare the value of another hour in this run with a faster next run.
First-run checklist
- Keep ore moving; do not judge the economy by mining damage alone.
- Buy housing for a named role, not automatically.
- Clear valuable wall targets before destroying the mountain.
- Commit major upgrades to one damage engine.
- Protect Runner uptime before chasing maximum damage.
- Prestige after a plateau, with a concrete plan for the points.
這篇路線圖把多份首玩記錄中真正有用的經驗合併成一條決策路線。它不是固定購物清單;每一步都應先判斷當前卡點,再購買能解除卡點的升級。
1. 先看懂真正的經濟循環
礦工挖出礦石,並不等於你已經獲得可用金幣。完整循環是:
- 對山造成傷害併產出礦石;
- 搬運工拾取礦石;
- 把礦石送進巨口;
- 用到賬的金幣購買住房、矮人、建築與升級。
地上的礦只是尚未完成的收入。如果礦堆越來越大,繼續加挖礦傷害只會讓擁堵更嚴重,此時應先提高運輸能力。
最實用的四項診斷
- 地上沒多少礦,但山掉血很慢: 補傷害或強化主力兵種。
- 地上礦很多,賬戶卻沒錢: 提升搬運工的負重、速度或數量。
- 搬運工經常昏迷: 先手動拍醒,再補閃避與防護。
- 有錢卻塞不下需要的矮人: 住房才是卡點。
這四個問題從開局到終局都適用。
2. 建立住房、運輸與傷害的三角關係
住房既是成本,也是人口上限。無計劃地購買會浪費金幣,完全不買又會卡死所有新單位。每次擴建住房前,先決定新增位置要承擔什麼職責。
開局只保留足以穩定產礦的礦工,隨後優先補搬運工,直到地面堆積得到控制。搬運工的負重通常比小幅移速提升更直接,因為一次往返可以結算更多資源。
不要照抄視頻裡的固定人數。距離、神器、災厄和升級都會改變運輸需求,真正應觀察的是地上的礦堆。
3. 主動操作只用在能省下一輪循環的地方
經濟規模還小時,主動操作的收益最高:
- 把重礦和神器向巨口推近;
- 立即拍醒昏迷的搬運工;
- 把爆發技能留給巢穴、秘銀目標或首領;
- 如果災厄正讓運輸線集體停擺,可以短暫放緩傷害。
主動操作不替代自動化,它的作用是避免一次意外浪費多個運輸週期。
4. 為“職責”解鎖建築,而不是為瞭解鎖而解鎖
前期建築的價值,在於它們補齊了哪一種職責:
| 當前需求 | 建議方向 | 作用 |
|---|---|---|
| 穩定的前期範圍傷害 | 烈焰工坊 / 烈焰使者 | 清雜並輔助拆巢 |
| 研究與成長 | 大型實驗室 / 科學家 | 開啟深層升級並支撐激光炮 |
| 集中拆巢能力 | 魚叉弩炮路線 | 在山被摧毀前拿到巢穴獎勵 |
| 符文與秘銀升級 | 偉大熔爐 / 符文鐵匠 | 把稀缺資源轉成長期倍率 |
一次解鎖所有系統,會同時分散住房、金幣與秘銀。只有噹噹前經濟養得起新職責時,再進入下一條建築線。
5. 把巢穴與秘銀目標當作限時任務
山被摧毀並不等於這一層已經完整收尾。最後一擊前,要檢查巢穴、礦脈及其他高價值牆面目標;如果山先消失,這些獎勵也會一起丟失。
魚叉弩炮的價值正在於補足定點拆除。適當換位和集火,往往比再買一次泛用傷害更划算。
6. 管理災厄,但不要一開始就過度防禦
災厄進度條把傷害轉化成風險。前期災厄通常可以恢復,但搬運工連續昏迷會在不知不覺中切斷收入。
建議分層處理:
- 手動叫醒關鍵搬運工;
- 提高負重,減少必須完成的往返次數;
- 增加閃避或保護升級;
- 只有當幹擾仍然頻繁時,再投入專用防禦。
後期有些流派可以利用災厄獲利,但第一次運行應先建立穩定物流,再考慮反向利用。
7. 讓一個神器決定主要流派
如果神器明顯強化火焰、激光炮、魚叉弩炮或其他兵種,它應被視為整局方向,而不是一條小加成。選擇一個主傷害引擎,深入其升級樹;平均投資所有兵種,往往會讓每條路線都遲遲到不了關鍵節點。
支援單位依然重要:搬運工提供資金,科學家解鎖成長,防禦系統維持運轉。“專注流派”指的是隻有一個主傷害核心,而不是地圖上只能存在一種單位。
8. 當下一輪明顯更快時再轉生
不要因為按鈕亮了就立刻重置。正確時機是當前成長已經變平,而可購買的永久升級能夠實質改善下次開局。
可以觀察這些信號:
- 下一項關鍵升級所需時間遠高於上一項;
- 合理調整資源後,首領或當前山仍無法突破;
- 手裡的聲望點足以買下數個開局提升,而不是一項邊緣加成;
- 起始資源或物流增強會讓重跑前期明顯更快。
具體山數會隨版本與流派改變。這個決定本質上是經濟比較:繼續在本局投入一小時,是否比開啟一局更快的循環更值。
首輪檢查清單
- 保持礦物流動,不要只看挖礦傷害判斷經濟。
- 每次買住房前,先確定新增人口的職責。
- 摧毀山體前清完有價值的牆面目標。
- 把主要升級集中給一個傷害引擎。
- 先保證搬運工正常工作,再追求最大傷害。
- 成長進入平臺期,並且聲望點有明確用途時再轉生。